
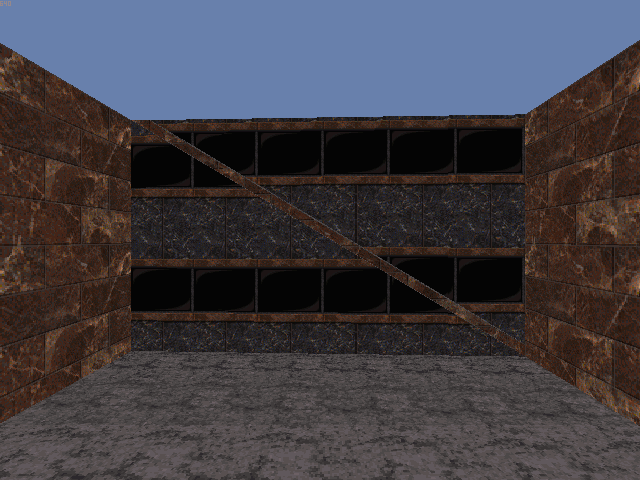
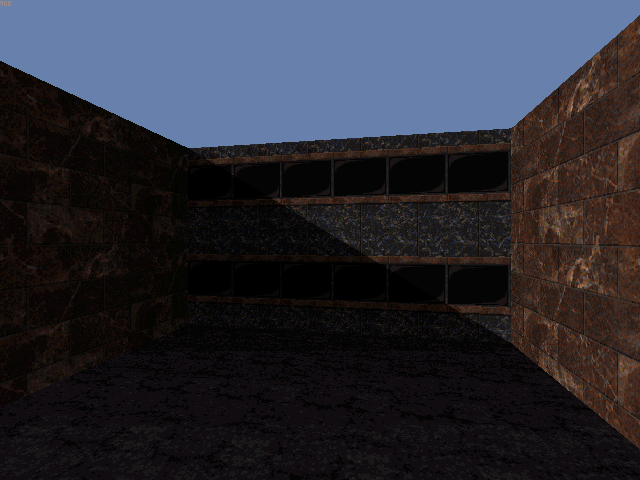
This design trick can be seen at the beginning of E3L1.MAP: "Raw Meat": The wall immediately to the left of the start position appears to have slanted shading. This is not too difficult to create.
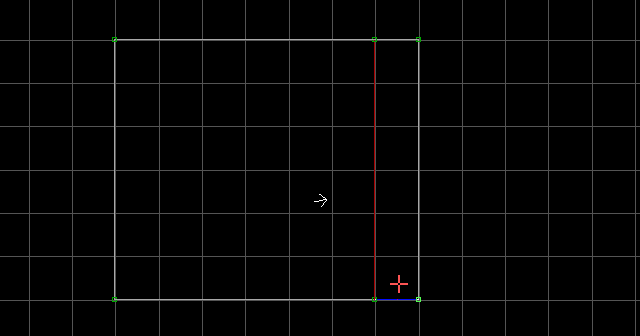
Attach a sector to the wall which you want to have slanted shading. The size of the attached sector is irrelevant, since it will be covered up in the next step. Set the 'first wall' of the attached sector so that the slant will have the proper axis (I set the wall highlighted by the mouse cursor in the image, shown as blue).
Switch to 3D mode. Make sure the floor and ceiling of the attached sector are not parallaxed (use P to disable if they are), and slant each of them so their slopes are parallel. Use PGUP/PGDN to raise or lower the main sector's ceiling to line up with the highest point of the floor slope. Now raise the floor slope and lower the ceiling slope until they meet seamlessly (there is a gap between them in the image for clarity).
Now press 2 on the top half of the wall (the half above the slanted ceiling). This will set the top and bottom halves of the wall as 'separately editable', allowing them to have separate attributes (except for texture stretching). Now you can align the textures, then shade them however you wish. Of course, the shade of the surrounding objects should follow suit for realism.
Note: To avoid accidentally clipping through these slanted walls in the map editor, you could simply block the red two-sided wall in 2D mode with B. This will not affect gameplay.