This level has more secret places than any other level in the game.
Secret Places (14)
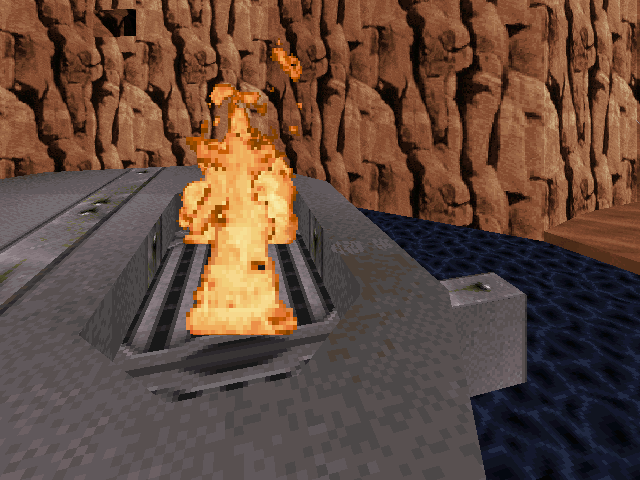
After exiting the sub and surfacing, jump on top of the sub and step into the fire. You will be credited for the secret place, and a secret compartment inside the sub will open. If you go back inside the sub and surface inside it, you'll find the open compartment and some goodies as well.
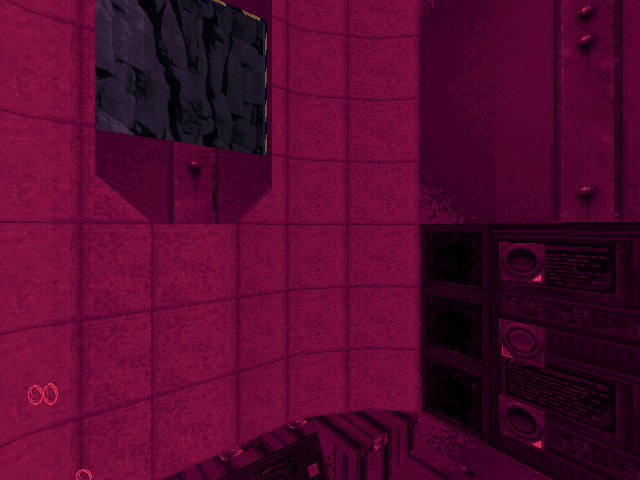
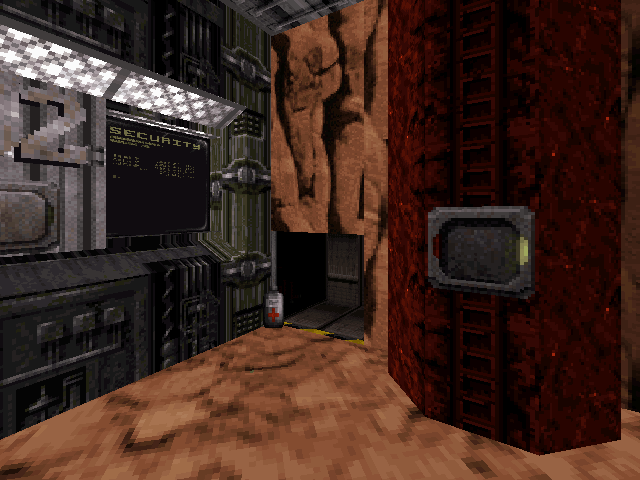
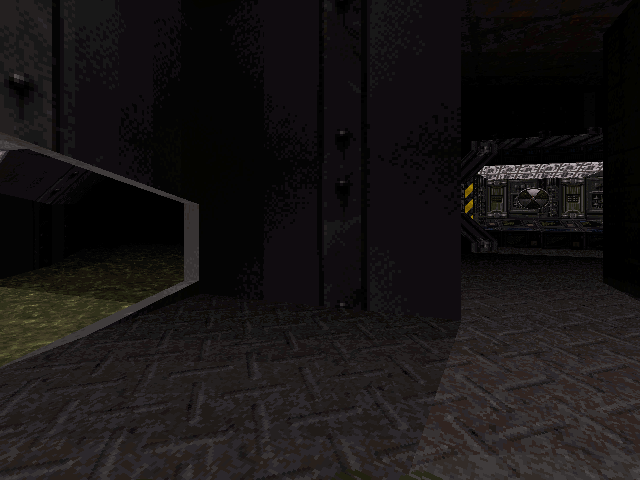
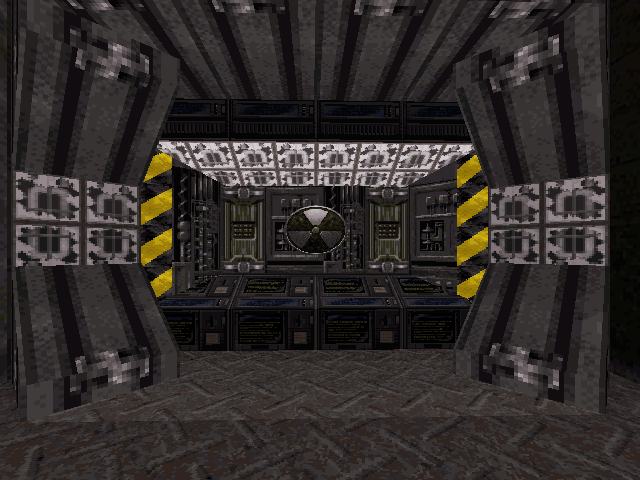
Inside both of the gun turret holes by the blue access card you'll find a secret door. Only the one in the picture is actually counted as a secret place. Just jump into the hole and press around until you find it. I tried to include as much of the surroundings in the picture as possible, so you'll know the general area. The gun turret hole is on the right side of the image.

When you exit the sub, you'll find an underwater cavern. Search around for a crack in the wall and blow it up. If you follow the path you'll eventually surface in a secret area.

When you enter the toxic waste facility, follow the wall on your right and continuously press on it. Eventually you'll come upon a secret door. If you enter here and then press around some more, you'll find the little "bunker" area that the Assault Troopers were hiding in.

After being dropped off by the cranes and riding the conveyor belt for a while, you'll see a red slime area. There's a hidden door here (be quick about it because the slime will do some damage).
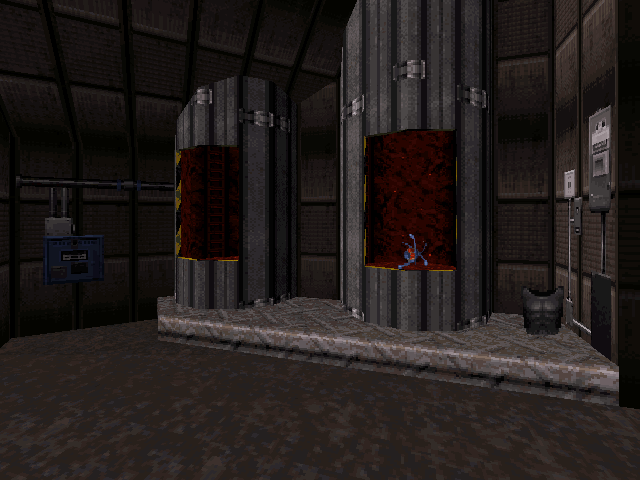
In the last room that the conveyor belt passes, you'll see a blue powerbox sprite on the wall. Switch it to open the two cylinders. The one on the left has a secret place. Jump into the cylinder, and then jump up and you'll see the secret containing two atomic healths.
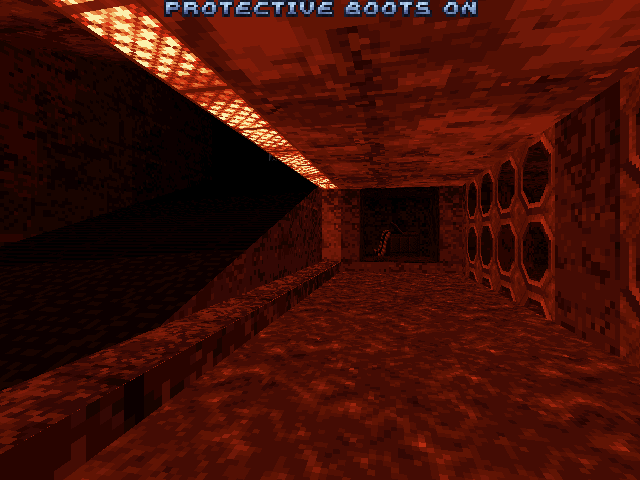
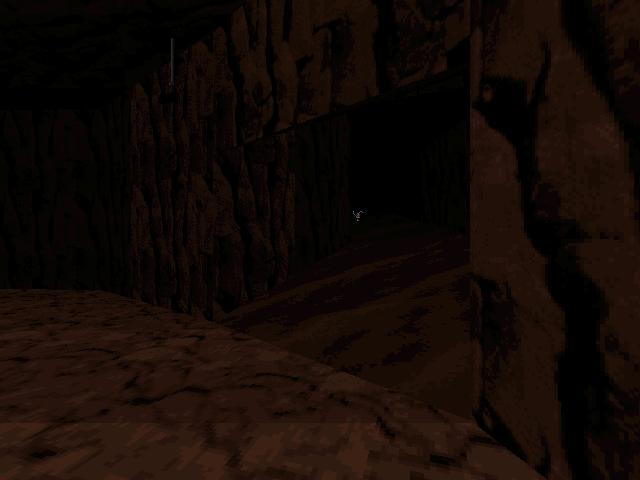
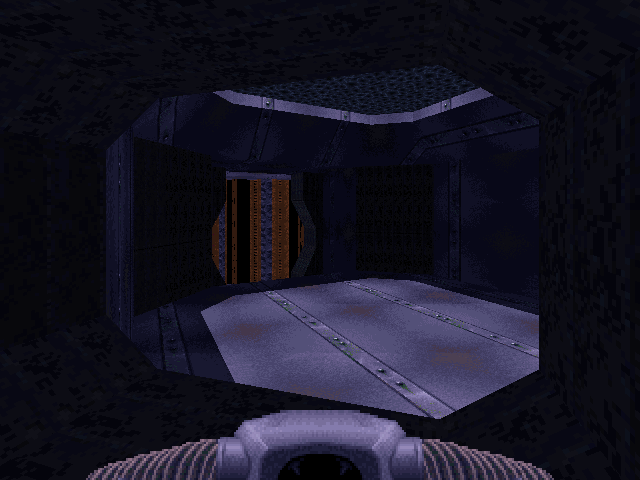
This is the area with the switch-activated water level. You can leap from the ramp in the image to the barely visible cavern in the wall. Search around and you'll come upon the secret place.

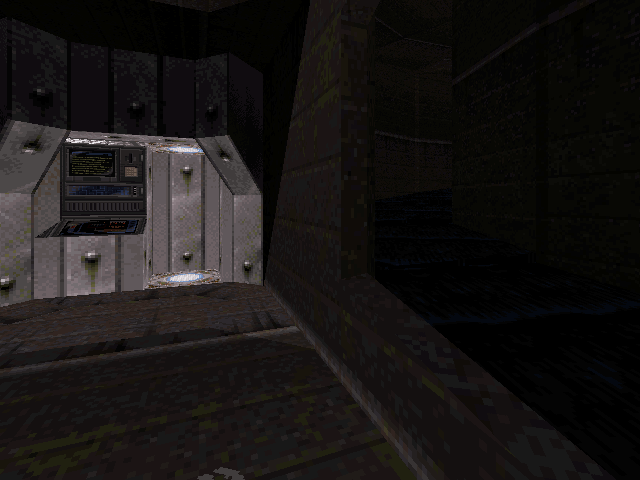
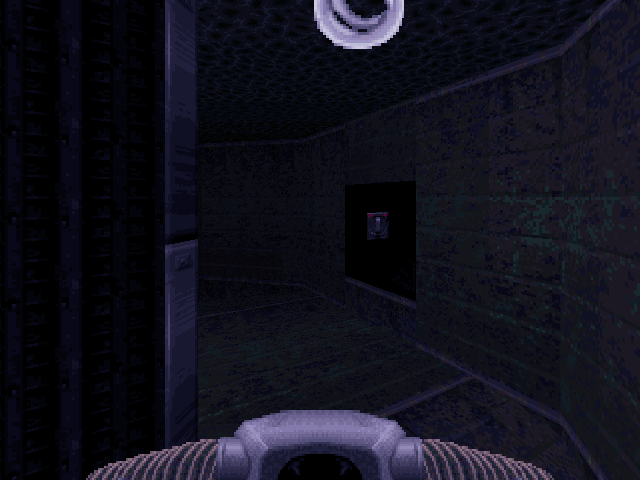
This is also near the area with the switch-activated water level. Just press against the wall beside the security screen to open a hidden door.
Just after exiting the room shown in the previous image, you can see a crack in the wall on the right. There are three consecutive secrets here. Each crack you blow up contains a secret room behind it. It's sort of ridiculous.
After passing through the broken teeth gears, you'll eventually surface and have to follow some water current. Watch the right wall carefully while you're being propelled down the current. If you hold back you can slow yourself down a bit. When you see the crack, use something explosive to reveal an area behind it. In this area is a teleporter which leads to a secret place.
This secret is at the very beginning of the acid river (the acid river which ultimately leads you to the final nuke button). Shoot the fan and use a jetpack to get to the area behind it.
When the acid river current is leading you towards the end of the level, watch the wall on your left. Eventually you'll spot a crack. Not only is this a secret place, but it also contains a secret nuke button.
Unofficial Secret Places
This is hidden within one of the gun turret holes near the blue access card at the beginning of the level. It's a bit of a reach, but it is possible to jump the distance. Once you get into the gun turret hole, press on the back wall to open a hidden area. This area has a secret message, as well as a second hidden area containing a holoduke (press around to find the other hidden door). I have no idea why this isn't counted as a secret place, especially considering the other gun turret hole across from it is considered a secret place.
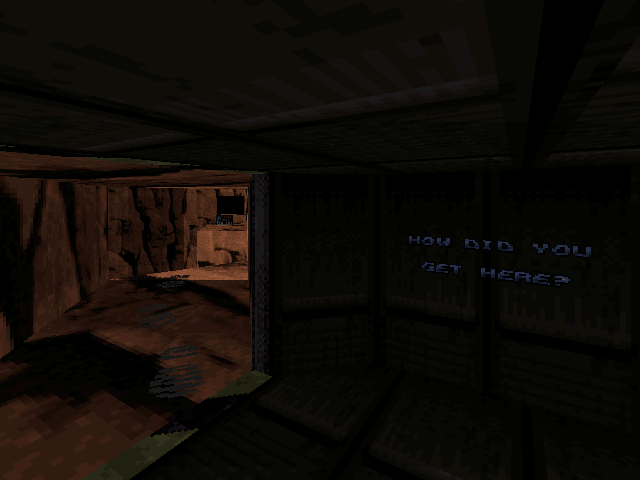
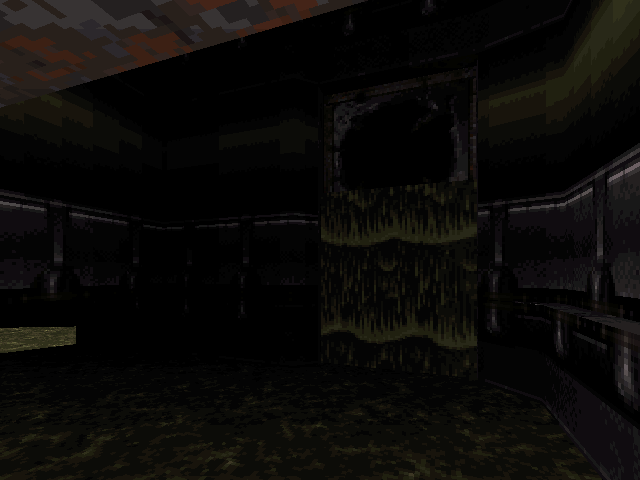
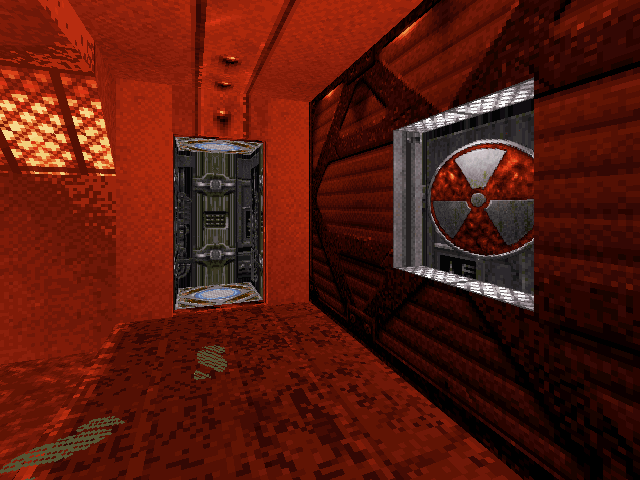
This one is located just after the broken gears (you can see the gears in the image). I took the snapshot from inside the hidden area so you can get a better idea of its physical location. I realize that the designer couldn't have possibly made this a secret place because it's underwater (the sector can't have a Lo-Tag of 2 and 32767 at the same time).
This is probably the most hidden secret in the whole level. It's not counted in the final tally because it's underwater (like the one above). In the second last area of the level, you have to shoot an orange switch to move two enormous blocks. They shift towards each other, and then receed back (and they do it pretty bloody fast as well). If you're at all familiar with the level then you'll understand which part I'm talking about. Behind one of these enormous blocks is a small hidden area. From the surface of the water, aim up at the switch and shoot it, then submerge and break the fan to get behind the enormous block (all in about one second). Getting this snapshot was a real pain in the arse.
Secret Messages
"How did you get here?": Hidden in one of the two gun turret holes near the blue access card.

Secret Level
When you're flowing down the acid river near the end of the level, watch the left side for a crack in the wall. When you find it, blow it up and enter the secret place. This room harbours the secret nuke button for Launch Facility.
Shortcut
When you reach the nuke button at the end of the level, you'll notice a teleporter to the left of it. Travel through this teleporter and pay close attention to its destination. If you know where to jump, you can bypass much of the level simply by jumping through the wall into the teleporter.
Secret Combinations
These combination switches are found underwater inside the submarine at the beginning. The correct combination opens the submarine's escape hatch.