Some of these tricks were used in the game itself (3D bridges and the sloped column trick as examples). Using sprites and slopes, you can fake true 3-dimensional objects.
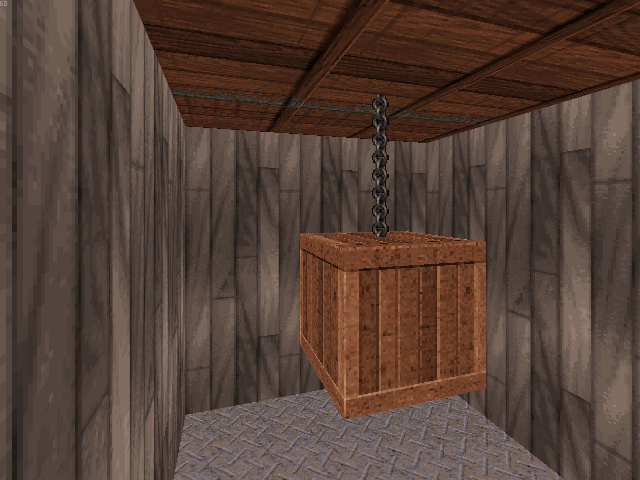
3D Objects Using Sprites
Using wall-aligned and floor-aligned sprites, you can create 3-dimensional objects of almost any variety: switches, bridges, tables, chairs, even entire buildings! The only downside is that you can't slope sprites, and just about everything has to be square or rectangular (although some creative usage of sprites with invisible (pink) pixel backgrounds can overcome these limitations, albeit deceptively). To make a wall-aligned or floor-aligned sprite 'collapsable', assign it a unique Hi-Tag. Any collapsable sprites sharing the same unique Hi-Tag will collapse together as a unit. Face-aligned sprites cannot be defined as collapsable. Collapsable sprites will automatically be set as blocked and hittable in-game.
Notes:
- Ugly graphical glitches can occur with 3D sprite objects. Sprites will often show through each other when they shouldn't be visible. To avoid this, make sure all of the sprites are one-sided (with the
1key). This way, all of the hidden sides (which caused the graphical glitches), will be completely invisible and will not cause problems. - Graphically speaking, sprite clipping is determined from the center of a sprite. The larger a sprite is, the greater the chance that it will have graphical clipping issues (i.e. other sprites will be more likely to show through it). When constructing a large object from sprites, use a series of smaller sprites rather than just a few large ones.
3D Objects Using Multiple Angled Sprites
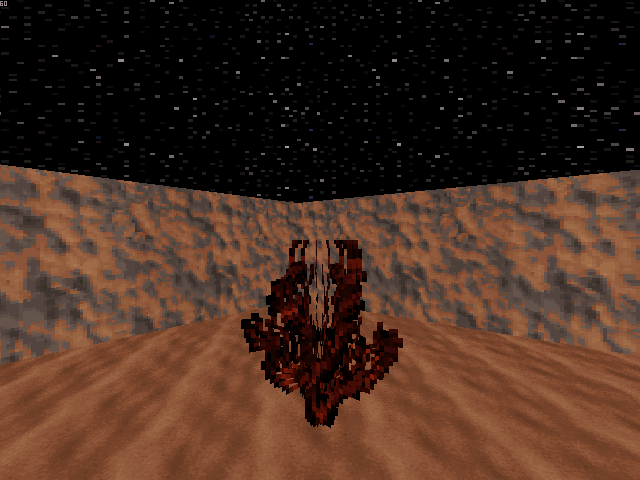
Here's another trick to make sprites look 3-dimensional. First choose the sprite which you want to make 3D (place it in wall-alignment mode and press Tab to copy it). Now (in 2D mode) place multiple wall-aligned copies on one grid point, but at slightly different angles, in a sort of 'hand-fan'/'protractor' shape. In this example, I used OCEANSPRITE5 (#975).
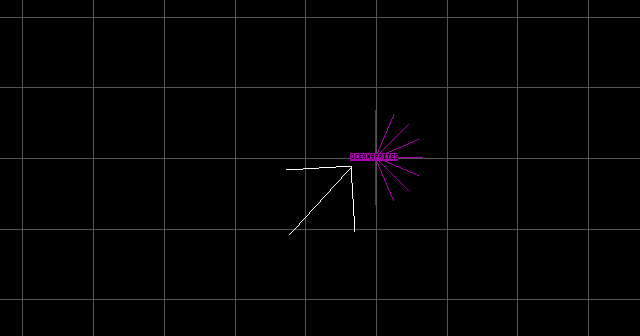
This makes the sprite look more 3-dimensional. However, this only looks decent when used with certain textures.
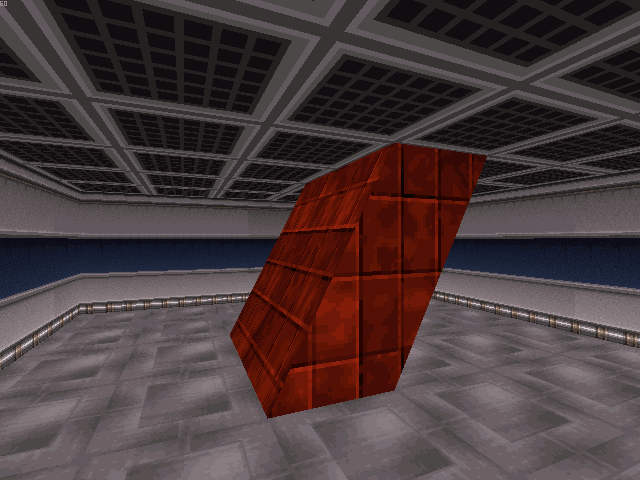
3D Objects Using Slopes
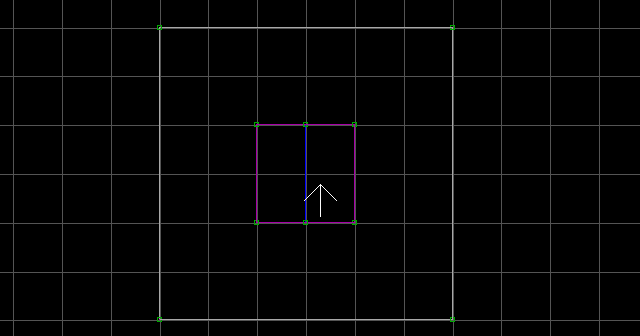
Start by creating this setup. The two adjoined sectors should each use the middle line as their 'first wall' (assigned with Alt + F, shown as blue in the image). Block all of the walls surrounding the pillar, or else it could potentially kill any player who walks too close.
Raise the floor of the leftmost sector until it touches the ceiling and slope it until the slope touches the surrounding floor. Do the opposite to the rightmost sector: Lower the ceiling to the floor and slope it until it's even with the surrounding ceiling. Texture it and make sure everything is even. You may want to use E on the sloped floor and ceiling to shrink the textures.