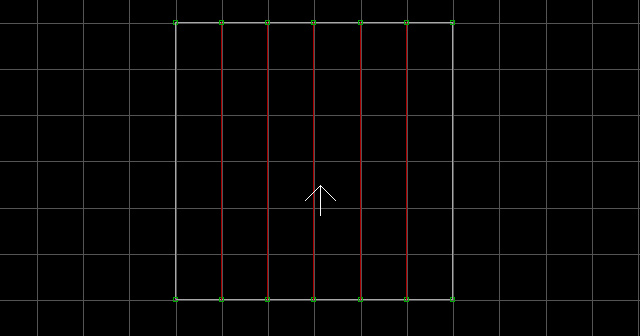
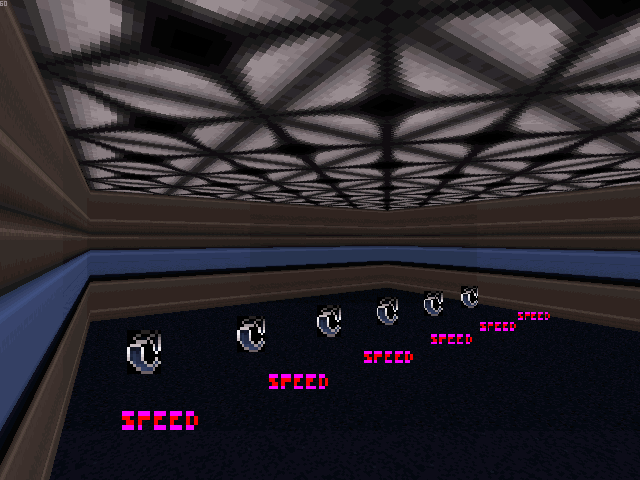
These lights use a Cycler sprite to pulsate with brightness. Check the "References - FAQ" section for details on the technicalities of lighting effects.
Make the sectors which you want to pulsate in brightness. With multiple adjacent sectors, you can create a travelling light effect.

The shade of the sectors determine the light's darkest point. The palette of the sectors will be permanent. Place a C[0,LightOffset] (Speed[0,PulseSpeed]) in each sector which will pulsate in brightness. The shade of the C determines the light's brightest point. The LightOffset value is the initial brightness offset of the light. The higher valued offsets light up first. Although the Speed is optional, I recommend using it. The PulseSpeed value ranges from 1 (slowest) to 1023 (fastest). Without a Speed sprite, the Cycler would operate at a default value equivalent to a PulseSpeed value of 256. To make a travelling light effect, use multiple Cyclers with incremental LightOffset values, and multiple Speed sprites with a constant PulseSpeed value.

Notes:
- Using the slowest
PulseSpeedvalue (1), you could easily simulate a day/night cycle. - The Cycler Hi-Tag can function as an optional
Channelvalue. If you choose to use this feature, place either aT[NumberOfActivations,Channel]or a Switch tagged[ActivationSound,Channel]somewhere in the map (to trigger the lights).NumberOfActivationsis the number of times the Touchplate will activate the lights (0 being infinite). The angle of the Cycler will determine the initial state of the pulsating lights. If it is angled up, the lights will begin in the 'enabled' state. If it is angled down, the lights will begin in the 'disabled' state. If you use a Switch, you may want to ensure that the initial state of the Switch sprite matches the initial state of the pulsating light effect (for realism). Note that the light "cycle" will run continuously in the background, even while disabled (it will just not be visible).
