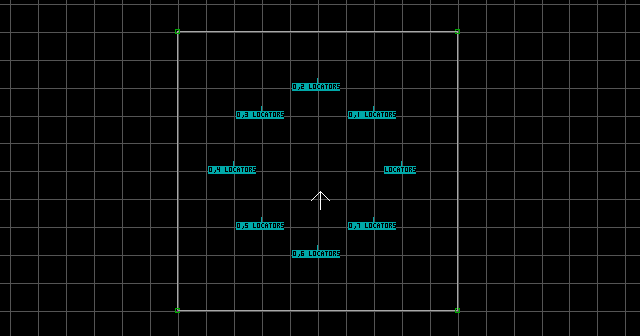
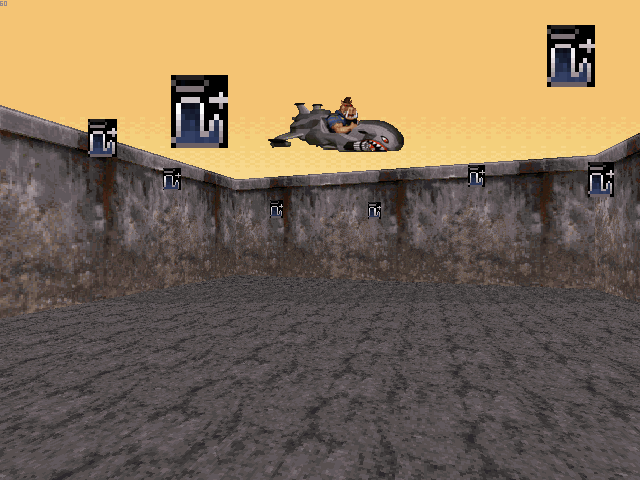
Although RPVs do not belong here, I figured I may as well explain them here because you're becoming familiar with Locators in this section. The Recon Patrol Vehicle is that annoying little ship that Pig Cops ride around, buzzing around your head and shooting at you... let's learn how to make one!
Begin by creating the track. You can split the track into multiple sectors (unlike Subway Vehicles). Place a series of L+[0,VisitingOrder] wherever you want. VisitingOrder is the order that the RPV will visit each Locator (beginning with 0). So the first L+ would be tagged [0,0], the second would be tagged [0,1], etc. When the RPV reaches the final Locator, it will automatically loop back to the one with a Lo-Tag of 0.

Once you have defined the RPV's route, you can raise the Locators off of the ground to any height you want (the RPV is affected by the vertical position of the L+ sprites, unlike Subway Vehicles). Place a RECON (#1960) somewhere within the track. Tag it [StartingLocator,SkillLevel]. Set StartingLocator equal to the Lo-Tag of the first L+ the RPV will visit. SkillLevel determines which skill level(s) the RPV will appear in: [0/1] = all skill levels, [2] = skill 2 and higher, [3] = skill 3 and higher, and [4] = skill 4 only.

Notes:
- The track sector can be split into multiple sectors, and the RPV can usually find its own way to the Locators if it starts outside of the track.
- Only one Locator path can be defined in the map.
- RPVs will not pause at a Locator with a Hi-Tag of 1. They'll pause to shoot at you whenever they find it convenient.
- You can place as many RPVs in the track as you want.
- It is recommended to keep the Locators away from the ground and ceiling.
- You cannot place Recon Patrol Vehicles and Subway Vehicles/Two-Way Trains in the same map.
- RPVs have trouble flying over enemies (even if the enemies are far below). Do not place an absurd amount of enemies within the RPV's track.
